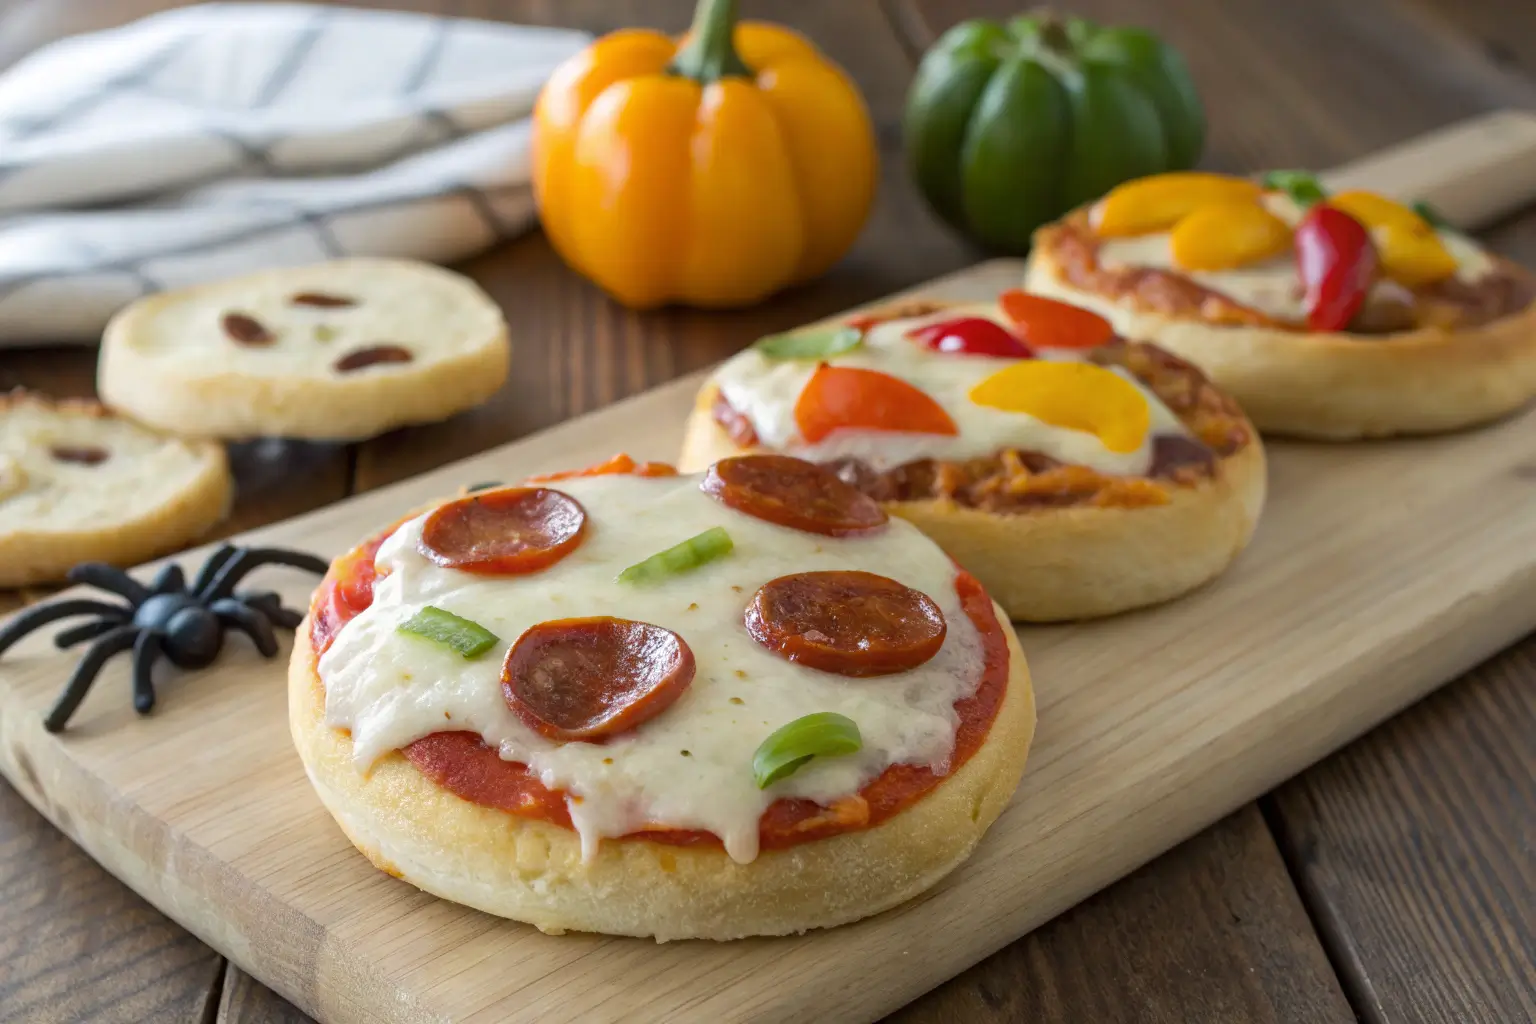
Halloween Mini Pizzas are the perfect Halloween fun party food! I remember one year when my son, Jake, insisted on having a Halloween-themed birthday party. We whipped up these mini pizzas, and they were a hit with all the kids. They loved decorating their own, and it made the party even more special.
Why You’ll Love It
- They’re easy to make and fun for kids to decorate.
- You can customize them with your favorite toppings.
- They make great finger foods for any Halloween gathering.
Pure Comfort
These mini pizzas bring warmth and joy to any Halloween celebration. With gooey cheese and vibrant toppings, they’re sure to delight everyone at your table.
What You Need
- 1 lb 1 package refrigerated pizza dough – You can substitute with gluten-free pizza dough if needed.
- 8 oz 1 cup pizza sauce – Feel free to use store-bought or homemade sauce.
- 8 oz 2 cups shredded mozzarella cheese – Cheddar or a dairy-free cheese can be used as alternatives.
- 4 oz 1/2 cup sliced pepperoni – You can replace pepperoni with veggies for a healthier option.
- 3 oz 1/2 cup black olives – Optional, but they add a spooky touch!
- 3 oz 1/2 cup bell peppers, diced – Use any color for a festive look.
Time to Cook
Prep: 15 minutes | Cook: 15 minutes | Total: 30 minutes | Difficulty: Easy | Make-Ahead: You can prepare the toppings in advance.
Steps to Make It
- Preheat your oven to 425 °F. This will ensure your mini pizzas bake evenly and get that perfect golden crust.
- Roll out the refrigerated pizza dough on a floured surface. Aim for about 1/4 inch thick, so they bake nicely and hold your toppings.
- Cut the dough into small circles using a cookie cutter or a glass. Each circle should be about 3 inches in diameter. This size is perfect for little hands.
- Place the dough circles on a baking sheet lined with parchment paper. Make sure they are spaced out to allow for rising.
- Spread a spoonful of pizza sauce on each circle. Don’t be shy; a good layer of sauce adds flavor and moisture.
- Sprinkle shredded mozzarella cheese generously over the sauce. The more cheese, the better, right? It should cover the sauce completely.
- Top with pepperoni slices, black olives, and diced bell peppers. Get creative! You can even make spooky faces with the toppings.
- Bake in the preheated oven for about 12 to 15 minutes. Look for the cheese to bubble and the edges to turn lightly golden.
- Once done, remove the mini pizzas from the oven and let them cool for a few minutes. They’ll be hot, so be careful when serving.
- Serve warm and watch the kids enjoy their spooky creations. You might even want to make a few extra for yourself!
Make It Perfect
- Let kids help with decorating their mini pizzas. It makes for a fun activity!
- If you have leftovers, store them in an airtight container in the fridge for up to 3 days.
- For a crispy crust, bake them directly on a pizza stone if you have one.
Mix It Up
- Try using different types of cheese like pepper jack for a spicy kick.
- Make them vegetarian by adding more veggies like mushrooms and spinach.
Perfect Partners
- Pair these mini pizzas with a spooky salad or Halloween-themed fruit skewers.
- Serve with a side of garlic bread for a complete meal.
💡 For more recipes, follow me on Facebook and Pinterest.
FAQs
Can I make these mini pizzas ahead of time?
Yes, you can prepare the toppings in advance and assemble them just before baking.
How do I store leftovers?
Store any leftovers in an airtight container in the fridge for up to 3 days.
Can I freeze these mini pizzas?
Absolutely! Freeze them before baking. Just bake directly from the freezer when you’re ready.
What can I substitute for pizza sauce?
You can use pesto or even a thin layer of barbecue sauce for a fun twist.
What toppings work well for Halloween?
Think of toppings like sliced olives for ‘spider eyes’ or bell peppers cut into spooky shapes!
Conclusion
These Halloween Mini Pizzas are not just fun Halloween snacks for school parties; they’re also great for any fall gathering. With a little creativity, you can make them as spooky or as silly as you like. Enjoy making lasting memories with your family and friends!

